Alcohol markers are a favorite tool for coloring enthusiasts, and it’s easy to see why. Alcohol-based markers offer smooth, streak-free application, making your artwork or coloring pages look flawless. Unlike water-based markers, which can sometimes leave streaks or uneven coverage, alcohol markers dry beautifully and blend effortlessly, giving even beginners a professional-looking result.
If you’re coloring in popular books like Coco Wyo, Vivi Tinta, or Bobbie Goods, alcohol markers will take your work to the next level with their vibrant, blendable colors. Let’s get into everything you need to know to get started with these amazing markers.

Why Are Alcohol Markers So Great?
Alcohol markers are known for their vibrant colors and smooth coverage. They dry quickly, compared to acrylic markers, so there’s no waiting around or worrying about smudges. Plus, they blend like a dream. You can layer colors for shading, gradients, or even create entirely new hues with ease.
Whether you’re tackling intricate details or large areas of color, alcohol markers make it feel satisfying and fun.
Alcohol markers are ideal for adult coloring enthusiasts or for older kids. Once your kids grow out of the stage of needing only the washable markers like water based markers, they can be introduced to this type of marker. Our 7 year old girls both enjoying using these, as well as myself.
Swatching Your Markers
Swatching your markers is the first step to getting the most out of your alcohol markers. Even if the color names or numbers are printed on the marker, the actual shade can look different on paper due to the type of paper you’re using and how the ink dries. Creating a color chart or a page of color swatches helps you see the true colors and ensures you pick the right markers for your project.

I’ve seen some people even tape the paper color swatch to the outside of each individual marker.
Use smooth paper or even a swatch sheet designed for alcohol markers to get the best results. Swatching is also a great way to get familiar with new markers, explore their vivid colors, and test different techniques like layering or blending.
You can also make pattern sheets for some of the most popular or basic techniques like water, sunset sky gradients or brick patterns and so on to refer to as well as just the basic color swatches.
Many coloring enthusiasts keep their swatches handy as a reference while working on coloring books or entire artworks.
Which Tip Should You Go For on Your Alcohol Markers?
Most alcohol markers are dual-tipped, which means they’ll have two different tips to give you more versatility. The three common combinations are:
- Brush Tip and Fine Tip – Brush tips are super satisfying to use, giving you a smooth, paintbrush-like stroke that’s perfect for blending. The fine tip is great for detailed work and small areas, making this combination a favorite for many.
- Brush Tip and Chisel Tip – The chisel tip is useful for filling in larger areas and creating sharp edges, while the brush tip is still your go-to for blending and smooth strokes. If you love the brush tip, this combo can be a solid choice.
- Chisel Tip and Fine Tip – While it lacks the flexibility of the brush tip, this combination can still work well, especially if you need precision and coverage.

For me, as long as I have the brush tip, I’m happy. But the ultimate best is brush and fine tip – the brush for smooth strokes and blending, and the fine tip for tiny details.
If you have a variety of markers in your collection, you can always jump to another brand when you need your fine tip for details, or you can add details with gel pen or fine liner pen so if I have the brush and chisel combination that’s not a deal breaker for me.
What If I Bought the Wrong Tips on My Alcohol Markers?
Accidentally bought the wrong tip combination? Don’t panic! It happens to many people. I see a lot people asking this in Facebook group, and if you’ve made this common mistake then you have a few options:
- Buy more markers: Expand your collection to include the tip combo you prefer.
- Exchange them: Check the return policy of the store or website where you bought them.
- Make the best of it: Even if they’re not your ideal choice, you might still find the markers work well for certain projects or styles.
The Best Brands of Alcohol Markers for Beginners
When it comes to alcohol markers, there are several brands worth considering:

These shown above are Ohuhu markers which are one of my favorites. Let’s run through a few options for your alcohol marker brands…
- Ohuhu Markers: These are my top recommendation. They’re affordable, long-lasting, and come in a wide variety of colors. Ohuhu also offers sets in different sizes, from smaller starter packs to larger collections, so you can pick what works for you.
- Deco Time: These markers are great for brush and fine tip sets and can often be found in the UK at B&M for half price. I’ve picked up many of these myself, and they’re fantastic for the price.
- Affordable Options: There are budget-friendly brands on Amazon, TikTok Shop, and even Shein. While they might not last as long, they’re a good way to try alcohol markers without a big investment.
- Copic Markers: Known as the gold standard for alcohol markers, Copics are amazing in quality but come with a higher price tag.
These shown below are the deco time markers which are also great.

How Many Alcohol Markers Do You Need?
As a beginner, you don’t need a massive 320-marker set, unless you have the budget to spare in which case go for it! Ohuhu offers smaller sets as well as sets in various themes, like skin tones and pastels, which can be purchased separately to build your collection over time.
Start with a manageable set and add more colors as you go. A set of even 48 or 72 is a great starting point, giving you plenty of colors to work with.

If you eventually run out of ink on some of your favorite colors you can also purchase single refills from Ohuhu
Your favorite color is running out of ink? No worry! Get a replacement at www.ohuhu.comThe Colorless Blender
Your set of markers may also come with a colourless blender.
The colorless blender is a must-have tool when working with alcohol markers. Despite its name, it’s not actually for blending colors together in the traditional sense.
Instead, it’s filled with a clear alcohol solution and is used to lighten colors, create gradients, fix small mistakes, or add highlights by pushing the ink away from certain areas.
It can also be used for special effects, like creating texture or soft edges in your artwork. I like too use them to add a fluffy texture when coloring animals like bears, or for fluffy objects like carpet or slippers for example.
Ohuhu sets thoughtfully include a colorless blender, making it easy for beginners to experiment with these techniques. Deco Time also includes them in their larger sets, which is a nice bonus.
Cheaper brands sometimes skip the blender marker, but don’t worry—you can find affordable packs of colorless blenders separately on sites like Amazon. I picked up a pack of three off-brand ones, and they’ve worked just fine.
A colorless blender isn’t strictly necessary, but it’s a fantastic tool for adding finesse and precision to your coloring projects. Once you try it, you’ll see why it’s so useful!
Shading, Highlights, and Smooth Transitions
One of the ultimate factors to mastering alcohol markers is learning how to shade, add highlights, and create smooth transitions between colors.
Start by identifying your light source to determine where the darkest areas and lighter colors will go, within the picture that you are coloring. This could be something within the picture like a window, a moon, a lamp, a fire and so on. Or if no light source is shown, you will just need to decide which side will be your light source.
Once you’ve done this, begin with the first layer of a lighter marker to lay down a solid base, then build up the darker shade in areas where shadows naturally fall. For highlights, it’s popular to use a white gel pen or white acrylic marker to add fine details for that finishing touch.
To get a smooth transition when color gradients, it’s easier to start with the lightest color and move upwards gradually to the darker, and work quickly so you add each new shade while the ink is still wet.

Consistent practice is key to achieving smooth blends and vivid colors, and experimenting with different techniques will help you grow your artistic skills. If shading feels like a daunting task, remember that even professional artists began with basic techniques and worked up from there until they reached an advanced level.
Once your shading and blending are complete, consider adding special effects to make your artwork pop. Use a white gel pen to create highlights, add shine, or bring fine details to life. Experiment with different techniques like layering lighter colors over darker shades for a soft, glowing effect. These final touches may seem small, but they can transform your artwork into something truly polished and professional.

Join a Facebook group or online community of coloring enthusiasts to see how others use these versatile markers and share your progress. You’ll be amazed at how consistent practice can transform your marker work. I like the Coco wyo official Facebook group and the Bobbie goods coloring Facebook group (which is not just for bobbie goods!)
Choosing the Right Paper for Alcohol Markers
The kind of paper you use can make a huge difference in your alcohol marker art. Alcohol markers work best on smooth paper, as it allows the ink to blend seamlessly and prevents the colors from feathering.
Marker-specific paper or thick paper designed for artist markers is a great choice, while thinner papers or standard printer paper can cause the ink to bleed through. To prevent this, you need to put a blank sheet behind to prevent staining. Ohuhu markers actually come with a plastic sheet specially for this, or I personally use an old magazine behind my pages while working.
For coloring books, you may notice some brands have slightly thicker pages than others. For example the newer coco wyo cozy christmas has thicker paper than their other books, and brands like Bobbie Goods also have slightly thicker pages than the original coco wyo books. If you have a preference it’s something to bear in mind, but if you’re new to coloring then just grab whichever book you like the look of and see how it goes.
Personally, I actually like coloring on the thinner and cheaper quality paper of the older coco wyo books as blending is easier since the ink doesn’t dry so quickly compared to how it dries on thicker paper.
Watercolor paper can be used for some alcohol marker techniques, but its textured surface may make smooth blends more challenging. Finding the right paper is a good reason to experiment with different brands and types until you find your preferred tool.
How to Store Your Alcohol Markers
Proper storage is key to keeping your alcohol markers in great condition. Always store them horizontally on their sides, not vertically, to prevent the ink from drying out. You can lay the storage bag flat on its side or invest in a marker storage shelf to keep everything organized and easy to access.

It’s worth mentioning that when ordering from places like Amazon, you can’t guarantee how the markers would have been stored at their warehouse whereas if you order directly from Ohuhu for example, they store them more appropriately at the warehouse.
I did notice a difference between my packs of ohuhu which I got direct from them, and the Ohuhu pastel set I bought on Amazon (in terms of juiciness of the alcohol ink, and how quick they dry out)

With their smooth blending, streak-free application, and vibrant results, alcohol markers are an incredible tool for coloring. Whether you’re working on Coco Wyo or Vivi Tinta books or creating your own art, these markers will make your projects look amazing. So grab a set, get coloring, and enjoy the process!
Affiliate links from Amazon and Ohuhu included.
Free Printable Coloring Pages
If you want to get started on coloring, we also have a huge amount of free printable coloring pages here at In The Playroom. Feel free to print and color as many as you like, and share our printable links with friends so they can also grab a copy.
Here are just a few of our free coloring pages that you can enjoy with your alcohol markers.
- Bold And Easy Dragon Coloring Pages
- Cute And Cozy Snowglobe Coloring Pages
- Bold And Cozy Christmas Animals Coloring Pages
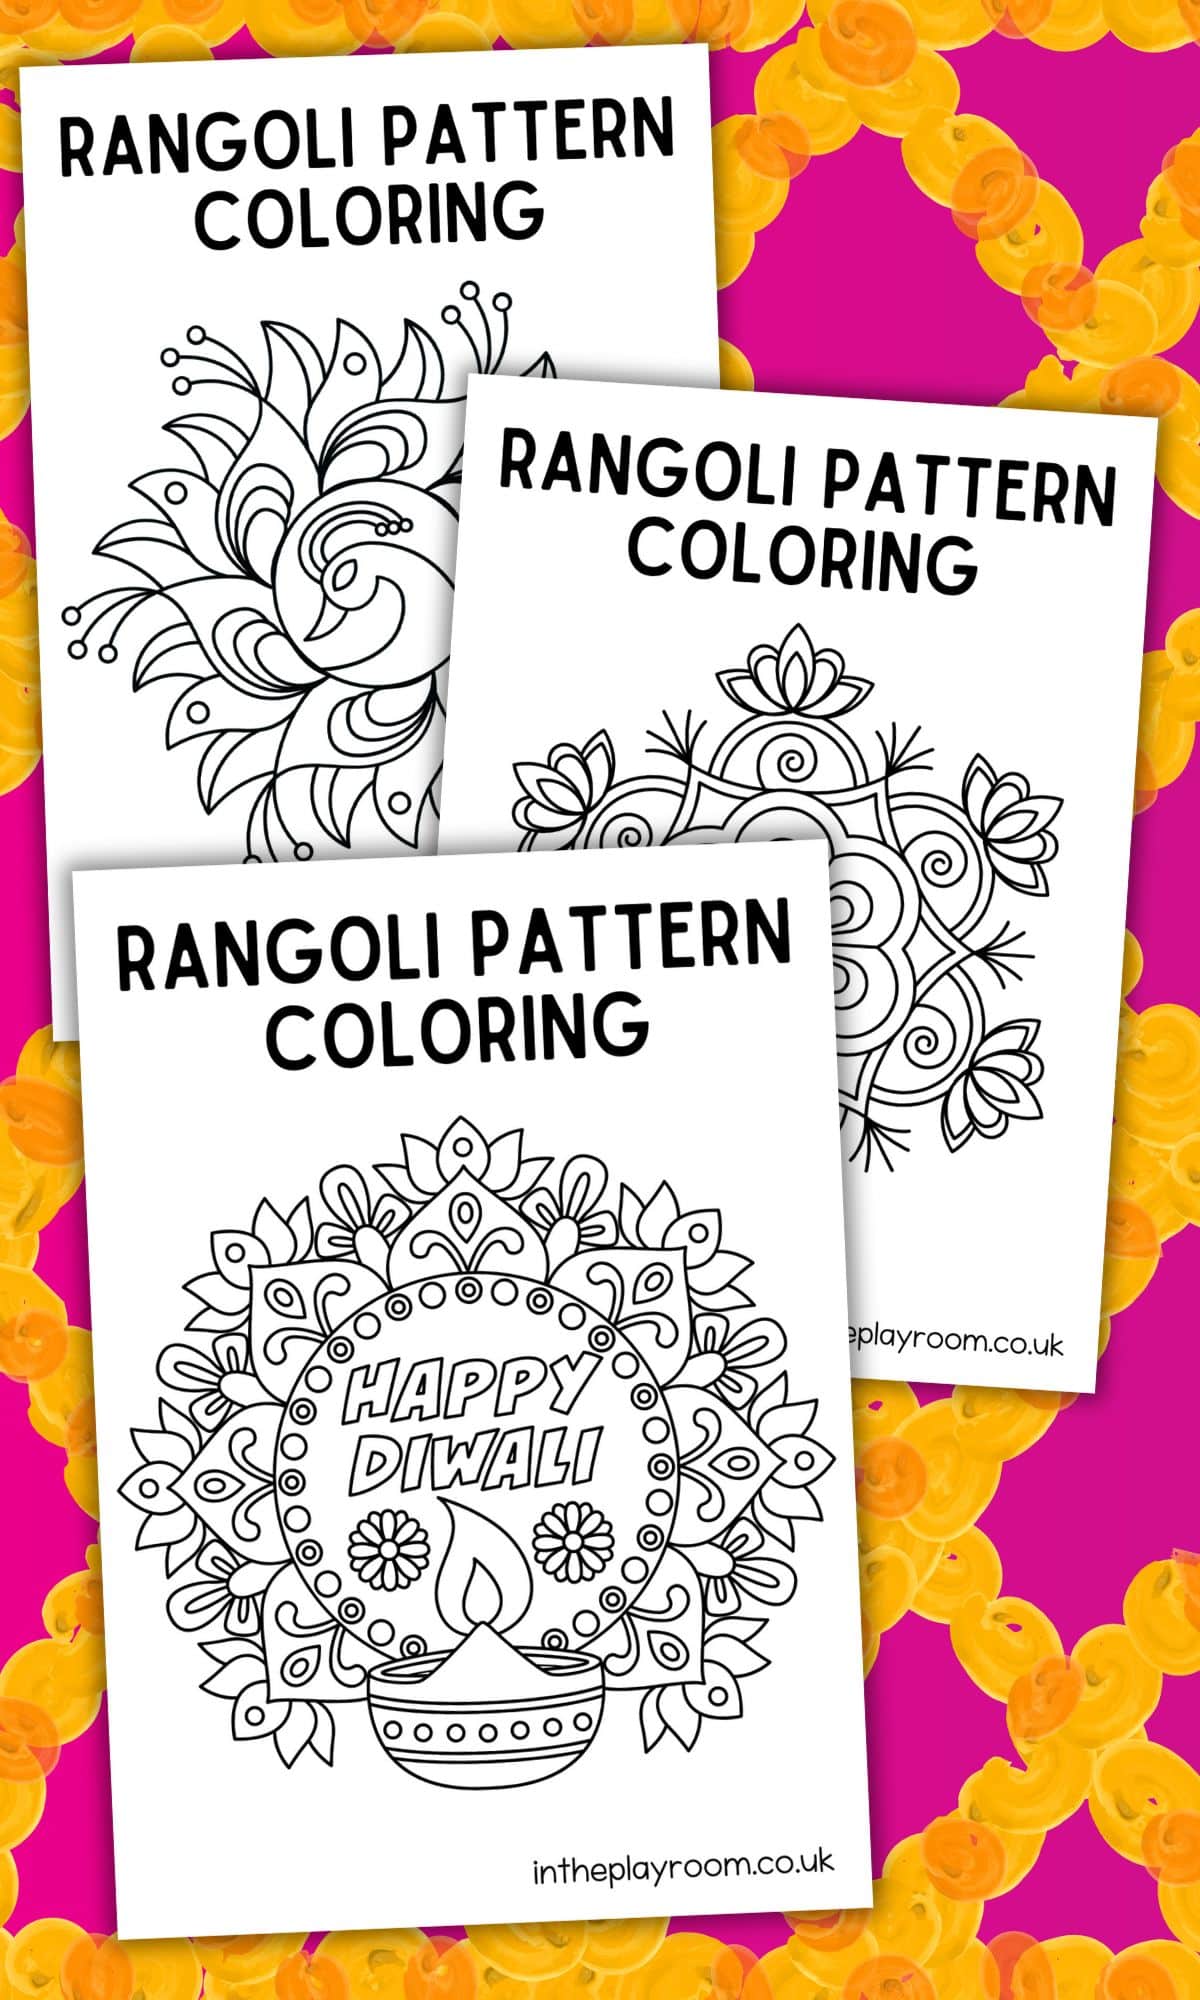
- Rangoli coloring pages
- Today is Going to Be Awesome: Free Printable Colouring Pages for Adults & Grown Up Colouring Book Recommendations
- Coloring Pages from Coco Wyo Spooky Cutie
6 thoughts on “The Best Alcohol Markers for Beginners”